
Getting started with your PYNQ-ZU
This guide will show you how to setup your computer and PYNQ-ZU board using PYNQ.
Prerequisites
- PYNQ-ZU board
- Micro SD card (8GB or more recommended)
- Micro USB 3.0 Cable
- Power supply for PYNQ-ZU board
- Optional: Micro USB cable (for serial terminal)
Setup video
You can watch the getting started video guide, or follow the instructions below.
Setup instructions
Prepare a Micro SD card
- Download the PYNQ-ZU v3.0.1 PYNQ image and write the image to a Micro SD card
Setup the board
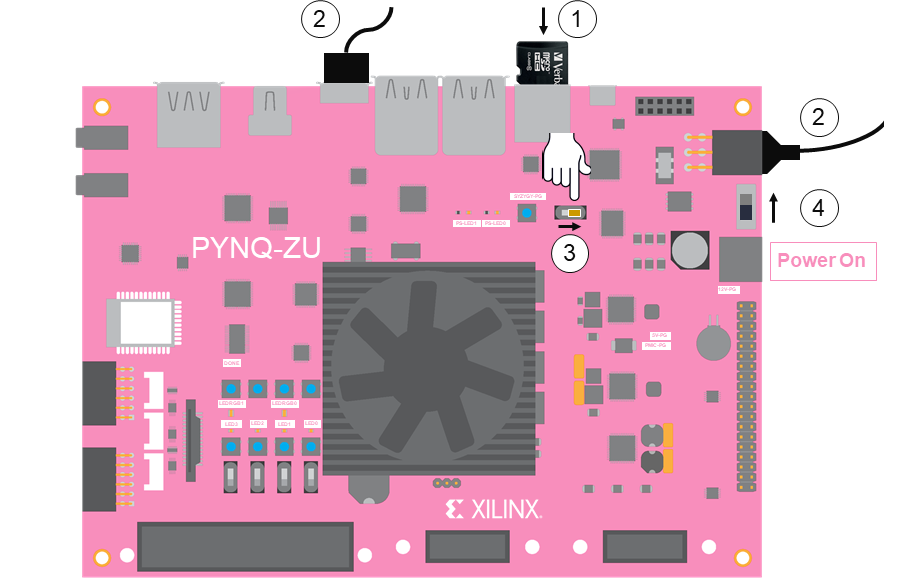
-
Insert the Micro SD card (pre-loaded with the PYNQ-ZU image)
-
Connect a Micro USB 3.0 cable to the board and your computer, and plug in the power cable
-
Set the Switch to the SD position to boot from the SD card
-
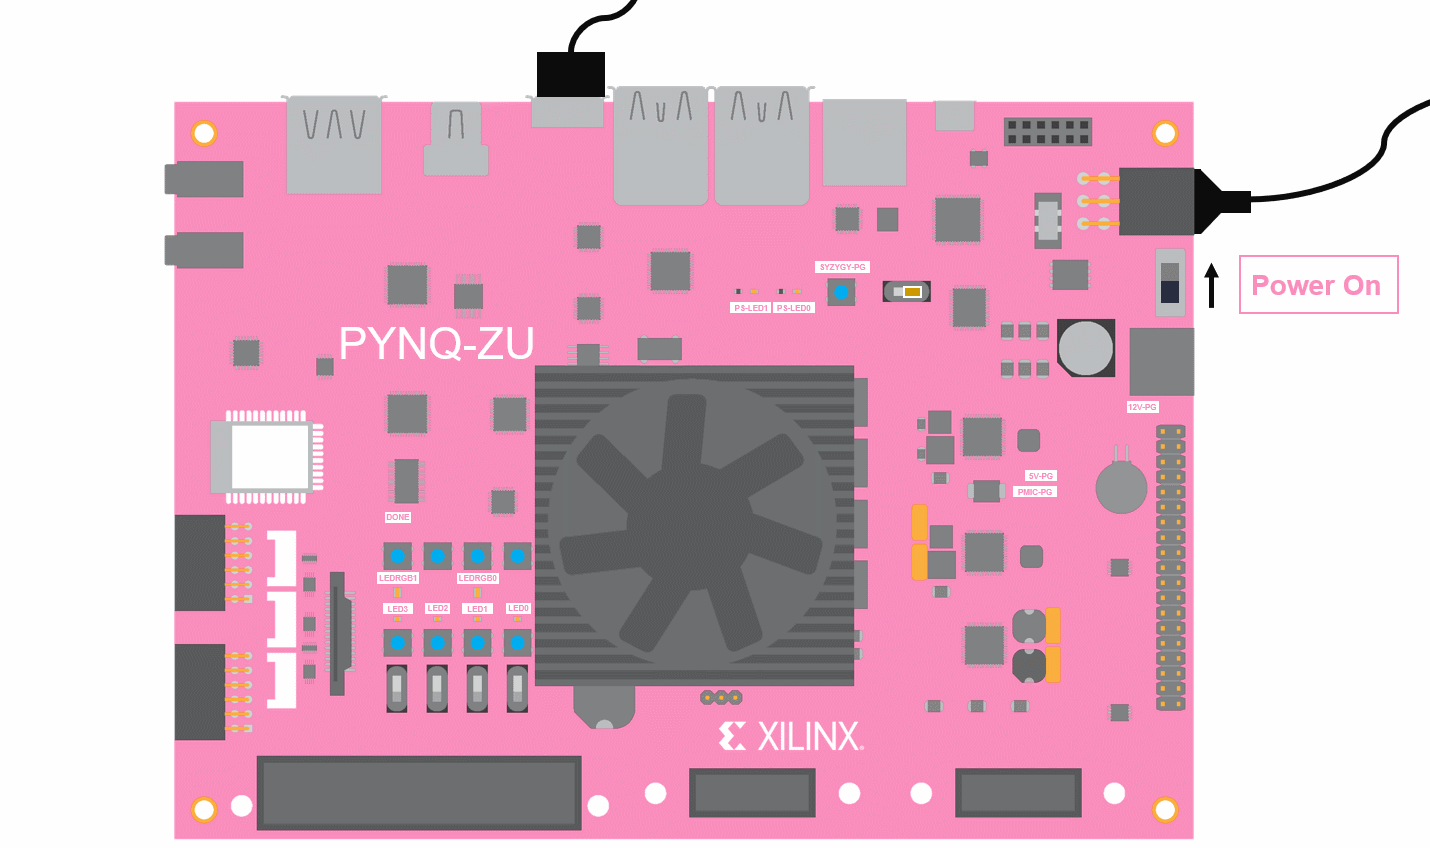
Power on the board
PYNQ Boot sequence
After you setup and power on the board, you should see the following sequence represented in the animated image, and described below.
- Status LEDs will turn on. Check the the “12V-PG” LED turns on. This indicates the board is getting power. You will also see one of the white LEDs (PS-LED0) flash in a “heartbeat” pattern. This is a good indication the board is alive and the boot is in progress.
- After about 40 seconds, you should see the “DONE” LED turn on. This is the FPGA done signal, and indicates a bitstream has been downloaded.
- A few seconds later, the PYNQ image will flash the 4 white user LEDs (LED0-LED3), and the 2 RGB LEDs (LEDRGB0 and LEDRGB1) will flash blue to indicate the board is ready.
See the Troubleshooting section for issues.
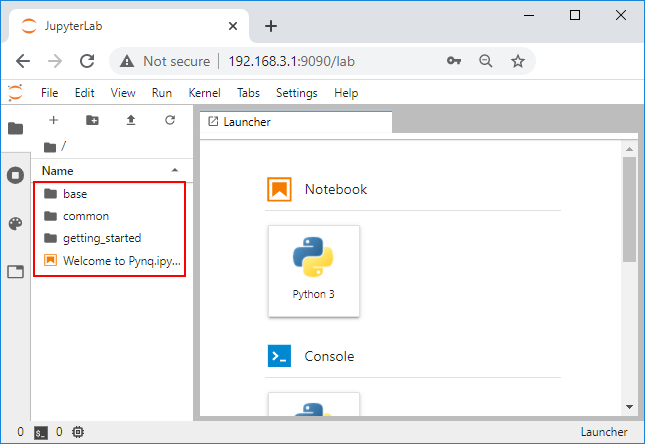
Connect to the board
- On your computer, open a web browser (Chrome/Safari/Firefox check Jupyter Notebook supported browsers), and browse to http://192.168.3.1/lab
This should bring you to the Jupyter log in screen.

- Enter xilinx as the password
This should bring you to the Jupyter home area where you can start to explore your board with the getting started notebooks.
Copyright© 2022-2024 Advanced Micro Devices