Building and Debugging Linux Applications
The earlier examples highlighted the creation of bootloader images and bare-metal applications for APU, RPU, and PMU using the Vitis™ IDE. This chapter demonstrates how to develop Linux applications.
Example 8: Creating Linux Images and Applications using PetaLinux
In this example, you will configure and build a Linux operating system platform for an Arm™ Cortex-A53 core based APU on a Zynq® UltraScale+™ MPSoC. You can configure and build Linux images using the PetaLinux tool flow, along with the board-specific BSP. The Linux application is developed in the Vitis IDE.
Input and Output Files
Input:
Hardware XSA (edt_zcu102_wrapper.xsa generated in Example 1)
Output:
PetaLinux boot images (BOOT.BIN, image.ub)
PetaLinux application (hello_linux)
Important
This example requires a Linux host machine with PetaLinux installed. Refer to the PetaLinux Tools Documentation: Reference Guide (UG1144) for information about dependencies for PetaLinux.
This example uses the ZCU102 PetaLinux BSP to create a PetaLinux project. Ensure that you have downloaded the ZCU102 BSP for PetaLinux as instructed on the PetaLinux Tools download page.
Creating a PetaLinux Image
Create a PetaLinux project using the following command:
petalinux-create -t project -s <path to the xilinx-zcu102-v2022.2-final.bsp>
Note
xilinx-zcu102-v2022.2-final.bspis the PetaLinux BSP for the ZCU102 Production Silicon Rev 1.0 Board.This creates a PetaLinux project directory,
xilinx-zcu102-2022.2.Reconfigure the project with edt_zcu102_wrapper.xsa:
The created PetaLinux project uses the default hardware setup in the ZCU102 Linux BSP. In this example, you will reconfigure the PetaLinux project based on the Zynq UltraScale+ hardware platform that you configured using the Vivado® Design Suite in Zynq UltraScale+ MPSoC Processing System Configuration.
Copy the hardware platform edt_zcu102_wrapper.xsa to the Linux host machine.
Reconfigure the project using the following command:
cd xilinx-zcu102-2022.2
petalinux-config --get-hw-description=<path containing edt_zcu102_wrapper.xsa>
This command opens the PetaLinux Configuration window. You can review these settings. If required, make changes in the configuration. For this example, the default settings from the BSP are sufficient to generate the required boot images.
If you would prefer to skip the configuration window and keep the default settings, run the following command:
petalinux-config --get-hw-description=<path containing edt_zcu102_wrapper.xsa> --silentconfigBuild the PetaLinux project:
In the
<PetaLinux-project>directory, for example,xilinx-zcu102-2022.2, build the Linux images using the following command:petalinux-build
After the above statement executes successfully, verify the images and the timestamp in the images directory in the PetaLinux project folder using the following commands:
cd images/linux
ls -al
Generate the boot image using the following command:
petalinux-package --boot --fsbl zynqmp_fsbl.elf --u-boot
This creates a
BOOT.BINimage file in the<petalinux-project>/images/linux/directory.The logs indicate that the above command includes PMU_FW and Trusted Firmware-A (TF-A) in
BOOT.BIN. You can also add--pmufw <PMUFW_ELF>and--atf <ATF_ELF>in the above command if you would prefer to use custom firmware images. Refer topetalinux-package --boot --helpfor more details about the boot image package command.Note
The option to add bitstream,
--fpga, is missing from the above command intentionally because so far the hardware configuration is based only on a PS with no design in the PL. If a bitstream is present in the design,--fpgacan be added in thepetalinux-packagecommand as shown below:petalinux-package --boot --fsbl zynqmp_fsbl.elf --fpga system.bit --pmufw pmufw.elf --atf bl31.elf --u-boot u-boot.elf
Verifying the Image on the ZCU102 Board
To verify the image, follow these steps:
Copy the
BOOT.BIN,image.ub, andboot.scrfiles to the SD card. Here,boot.scris read by U-Boot to load the kernel and rootfs.Load the SD card into the ZCU102 board, in the J100 connector.
Connect a micro USB cable from the ZCU102 board USB UART port (J83) to the USB port on the host machine.
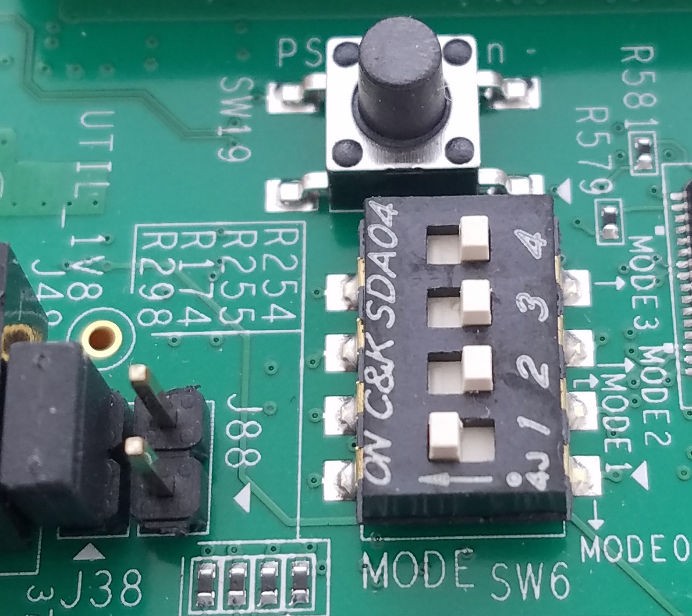
Configure the board to boot in SD boot mode by setting switch SW6 as shown in the following figure.
Connect 12V power to the ZCU102 6-pin Molex connector.
Start a serial terminal session using Tera Term or Minicom depending on the host machine being used. set the COM port and baud rate for your system as shown in the following figure.
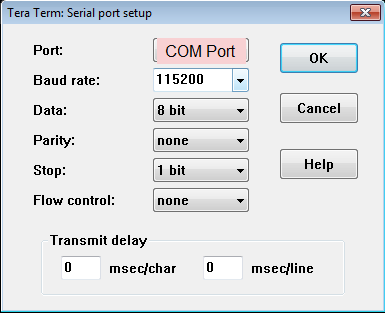
Tera Term Connection
For port settings, verify the COM port in the device manager and select the COM port with interface-0.
Turn on the ZCU102 board using SW1, and wait until Linux loads on the board.
Creating Linux Applications in the Vitis IDE
Create a Linux domain:
Double-click platform.spr in the zcu102_edt platform to open platform configurations.
Click the + button to add a domain.
Input the following domain parameters:
Name: linux
OS: linux
Keep the other options as-is and click OK.
Review the Linux domain configuration details.
Build the platform project by clicking the hammer icon.
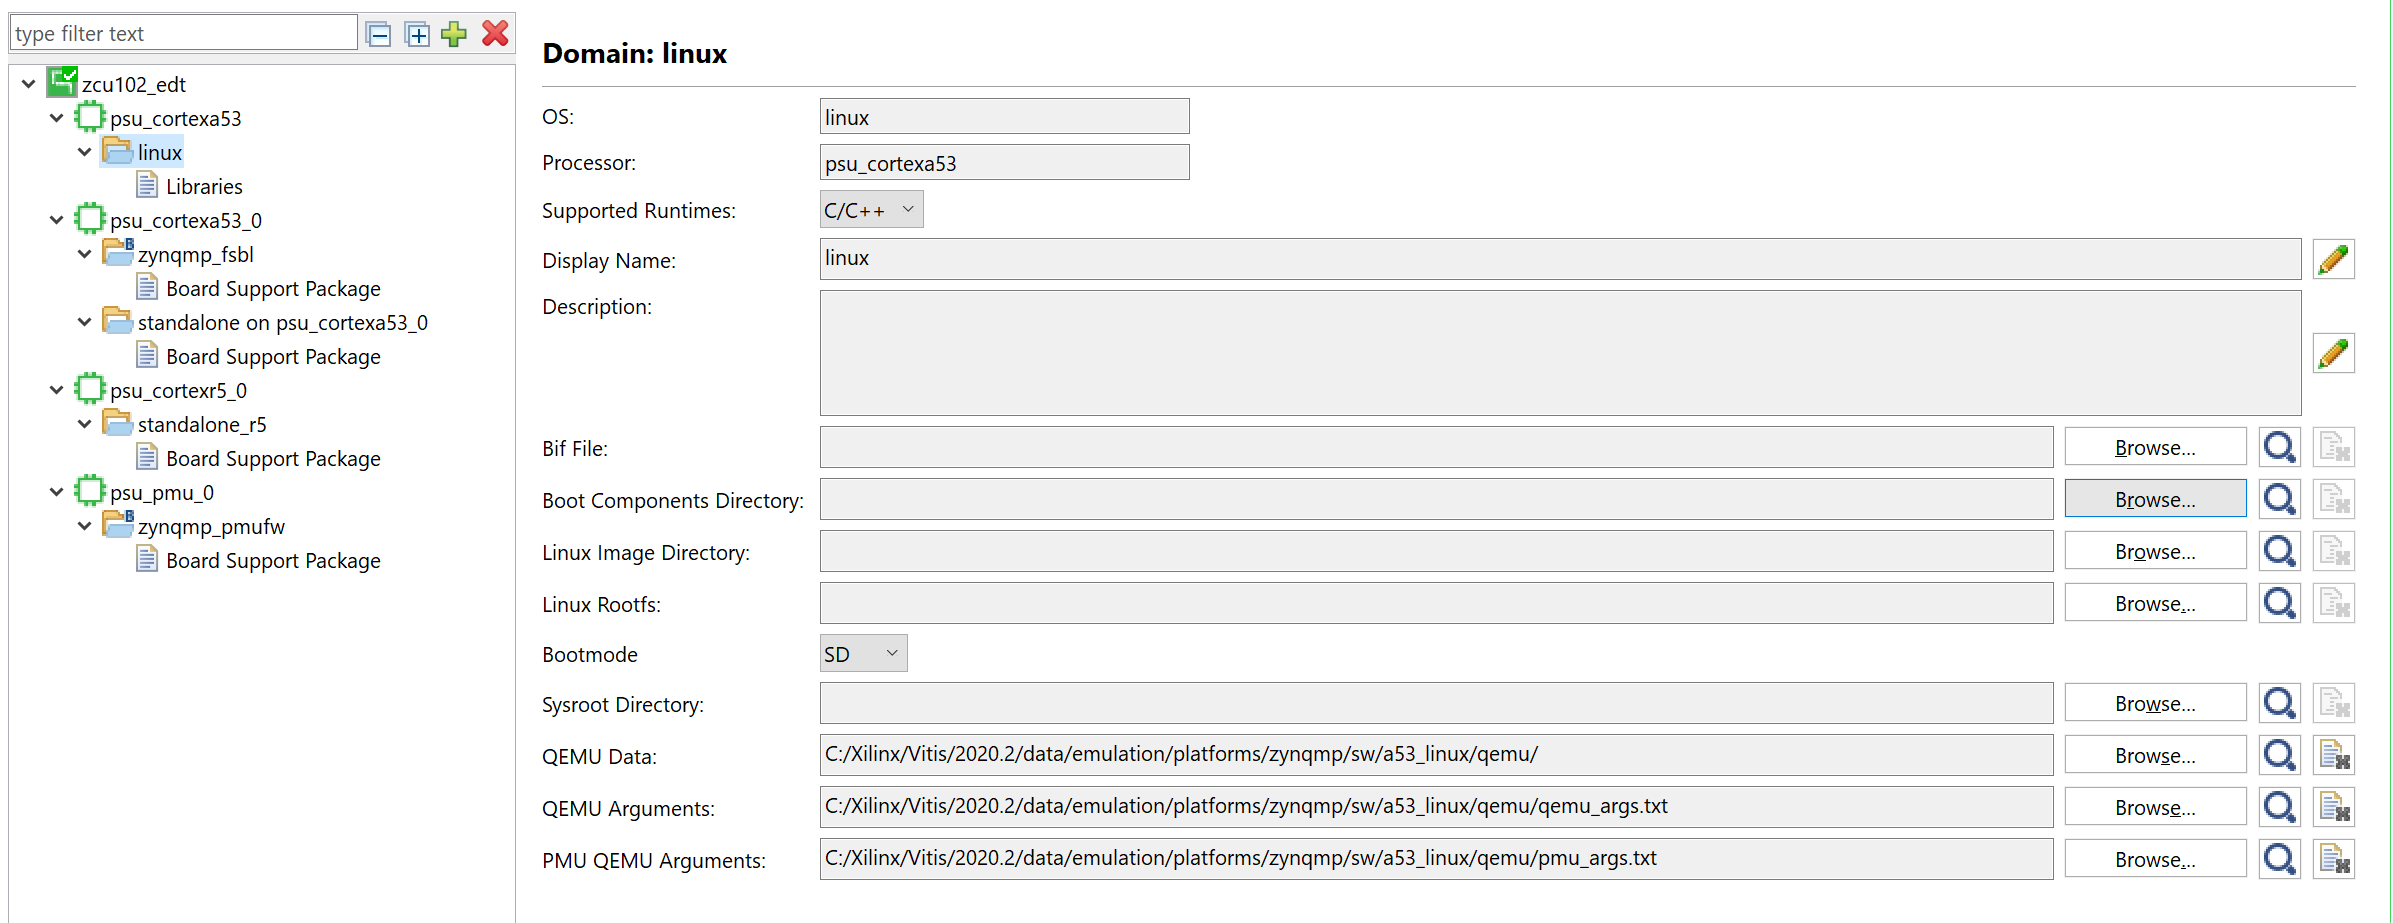
Linux domain configuration details
Create a Linux application:
Click File → New → Application Project.
Click Next on the welcome page.
Select platform: zcu102_edt. Click Next.
Enter the application project name, hello_linux, and the target processor, psu_cortexa53 SMP.
Keep the default domain: linux.
Keep the SYSROOT, rootfs, and kernel image empty, and click Next.
Select the Linux Hello World template. Click Finish.
Note
If you input an extracted SYSROOT directory, Vitis can find include files and libraries in SYSROOT. SYSROOT is generated by the PetaLinux project
petalinux-build --sdk. Refer to the PetaLinux Tools Documentation: Reference Guide (UG1144) for more information about SYSROOT generation.Note
If you input a rootfs and kernel image, Vitis can help to generate the
SD_card.imgwhen building the Linux system project.Build the hello_linux application.
Select hello_linux.
Click the hammer button to build the application.
Preparing the Linux Agent for Remote Connection
The Vitis IDE needs a channel to download the application to the running target. When the target runs Linux, it uses TCF Agent running on Linux. TCF Agent is added to the Linux rootfs from the PetaLinux configuration by default. When Linux boots up, it launches TCF Agent automatically. The Vitis IDE talks to TCF Agent on the board using an Ethernet connection.
Prepare for running the Linux application on the ZCU102 board. Vitis can download the Linux application to the board, which runs Linux through a network connection. It is important to ensure that the connection between the host machine and the board works well.
Make sure the USB UART cable is still connected with the ZCU102 board. Turn on your serial console and connect to the UART port.
Connect an Ethernet cable between the host and the ZCU102 board.
It can be a direct connection from the host to the ZCU102 board.
You can also connect the host and the ZCU102 board using a router.
Power on the board and let Linux run on ZCU102 (see Verifying the Image on the ZCU102 Board).
Set up a networking software environment.
If the host and the board are connected directly, run
ifconfig eth0 192.168.1.1to setup an IP address on the board.Go to Control Panel → Network and Internet → Network and Sharing Center, and click Change Adapter Settings.
Find your Ethernet adapter, then right-click and select Properties.
Double-click Internet Protocol Version 4 (TCP/IPv4), and select Use the following IP address.
Input the IP address 192.168.1.2 and click OK.
If the host and the board are connected through a router, they should be able to get an IP address from the router. If the Ethernet cable is plugged in after the board boots up, you can get the IP address manually by running the
udhcpc eth0command, which returns the board IP address.Have the host and the ZCU102 board ping each other to make sure the network is set up correctly.
Set up the Linux agent in the Vitis IDE.
Click the Target Connections icon on the toolbar. It can also be launched by going to Window → Show View… and then looking for the target.

Vitis Show View search for Target Connections
In the Target Connections window, double-click Linux TCF Agent → Linux Agent[default].
Input the IP address of your board.
Click Test Connection.
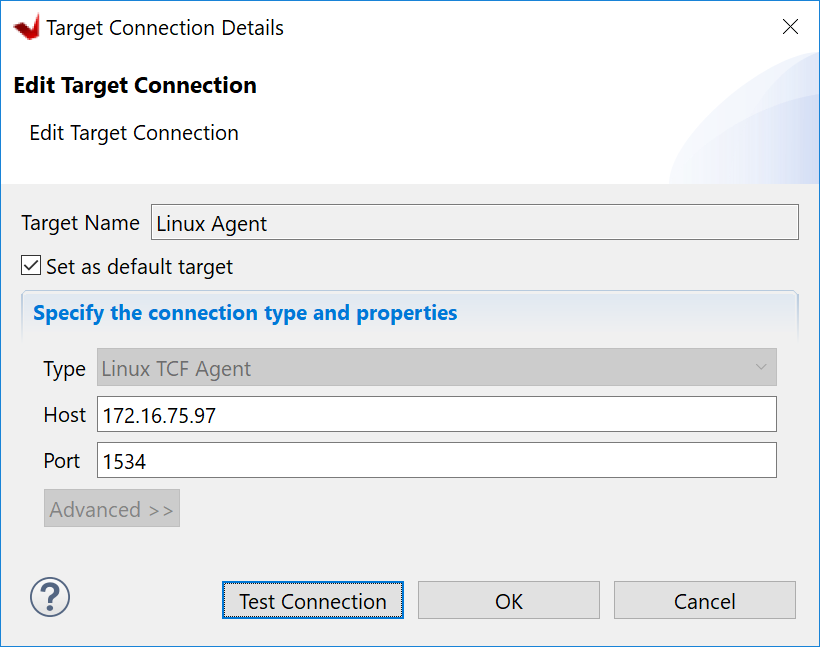
Vitis test connection details
Vitis should return a pop-up confirmation for success.
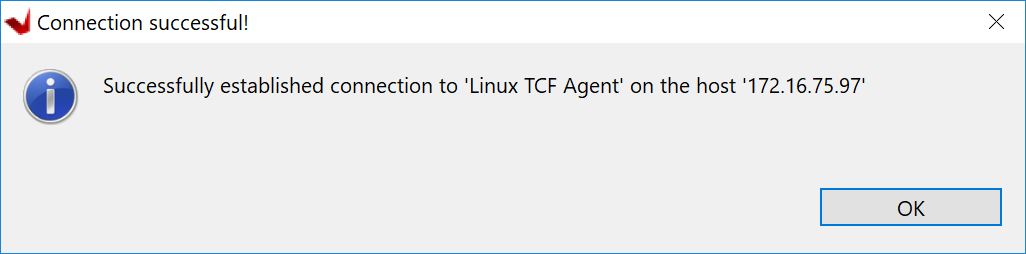
Vitis test connection success
Running the Linux Application from the Vitis IDE
Run the Linux application:
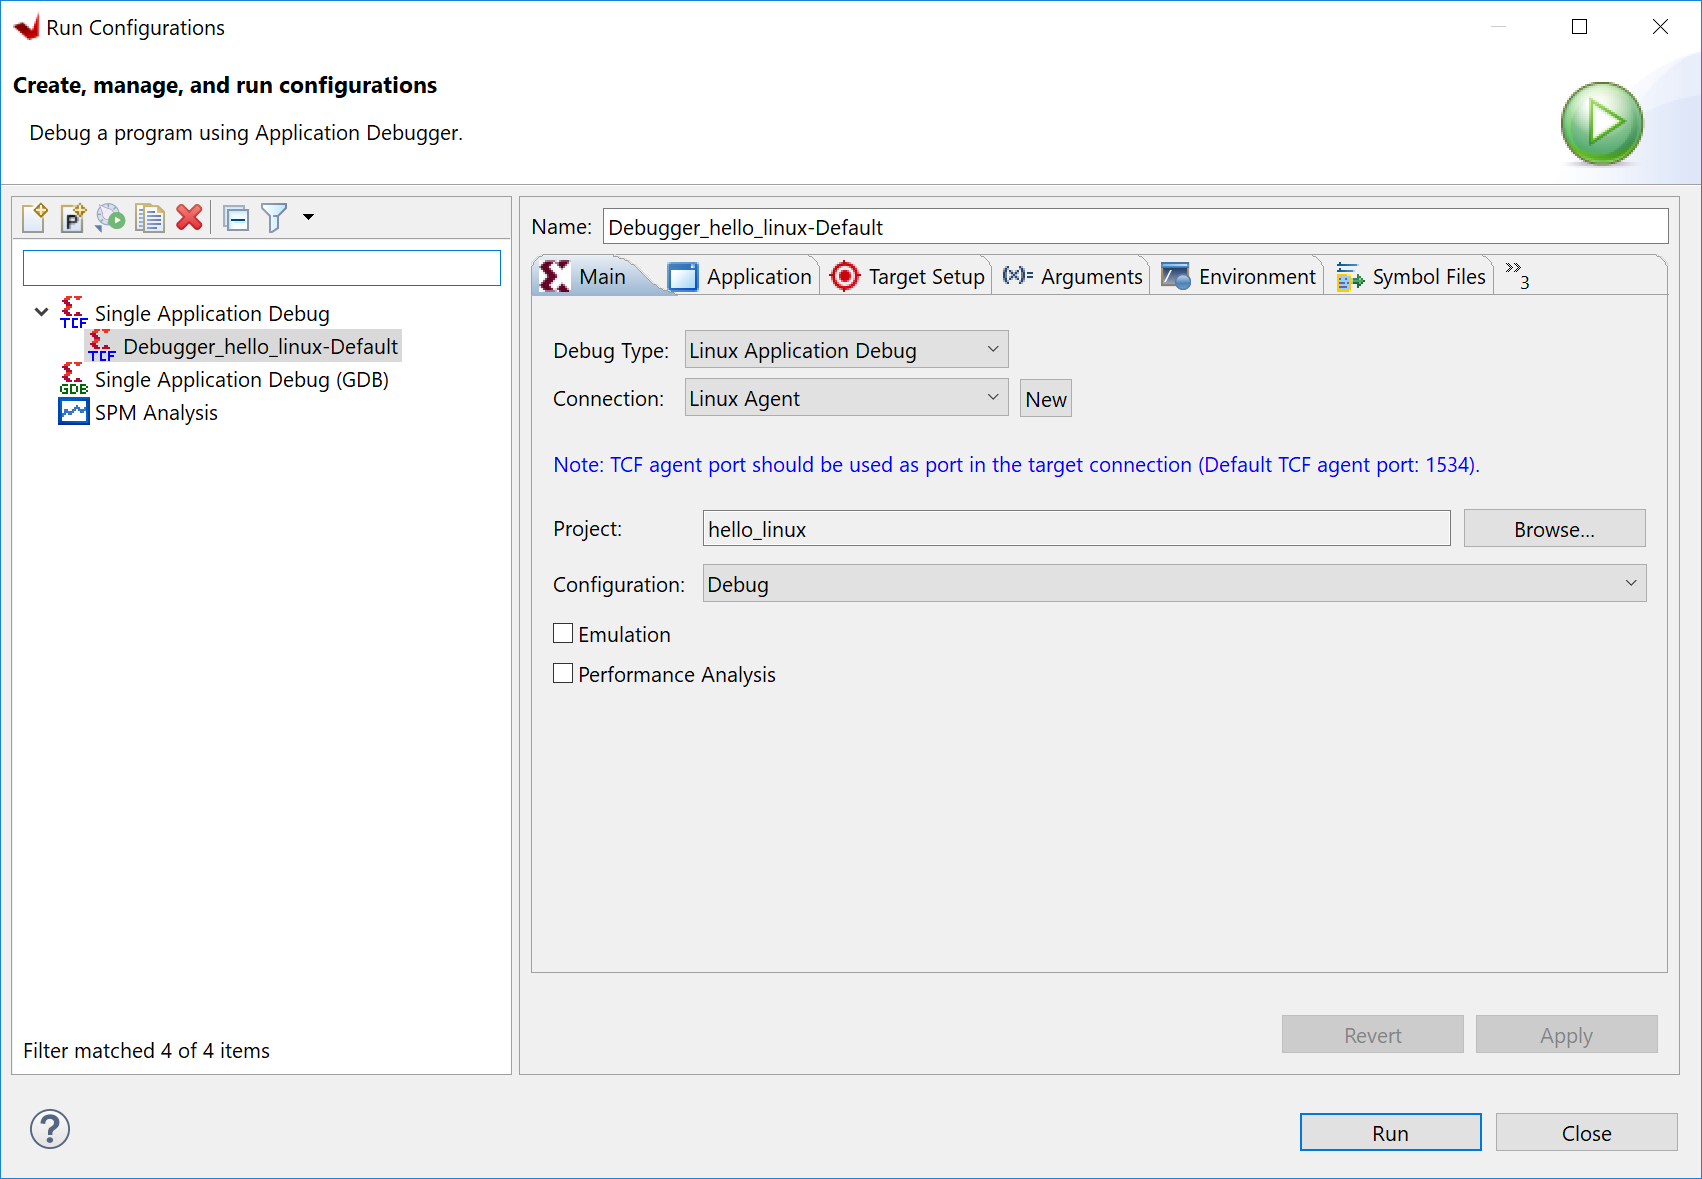
Right-click hello_linux, and select Run As → Run Configurations.
Expand Single Application Debug and select Debugger_hello_linux-Default.
Review the configurations:
Debug type: Linux Application Debug
Connection: Linux Agent
Click Run.
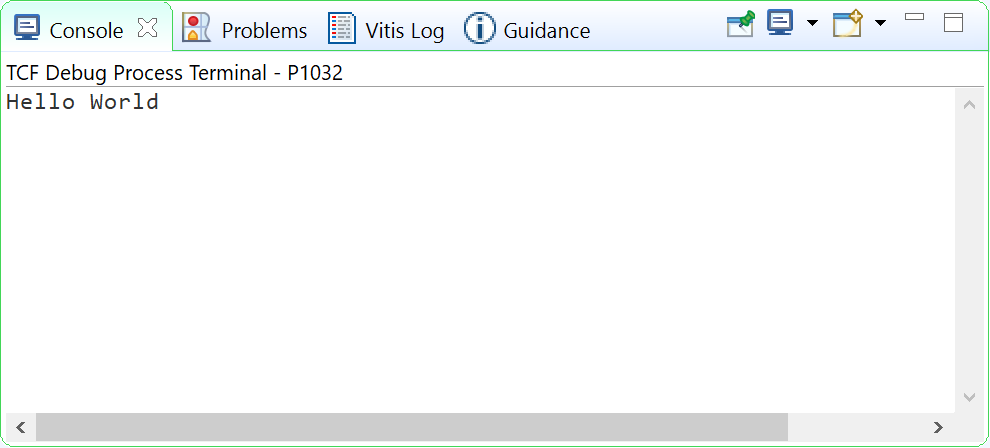
The console should print Hello World.
Disconnect the connection:
Click the Terminate button on the toolbar or press Ctrl+F2.
Click the Disconnect button on the toolbar.
Debugging a Linux Application from the Vitis IDE
Debugging Linux applications requires the Linux agent to be set up properly. Refer to Preparing the Linux Agent for Remote Connection for detailed steps.
Debug the Linux application:
Right-click hello_linux, then select Debug As → Debug Configurations.
Expand Single Application Debug and select Debugger_hello_linux-Default.
Review the configurations:
Debug type: Linux Application Debug
Connection: Linux Agent
Click Debug.
The debug configuration has identical options to the run configuration. The difference between debugging and running is that debugging stops at the
main()function.Try the debugging features:
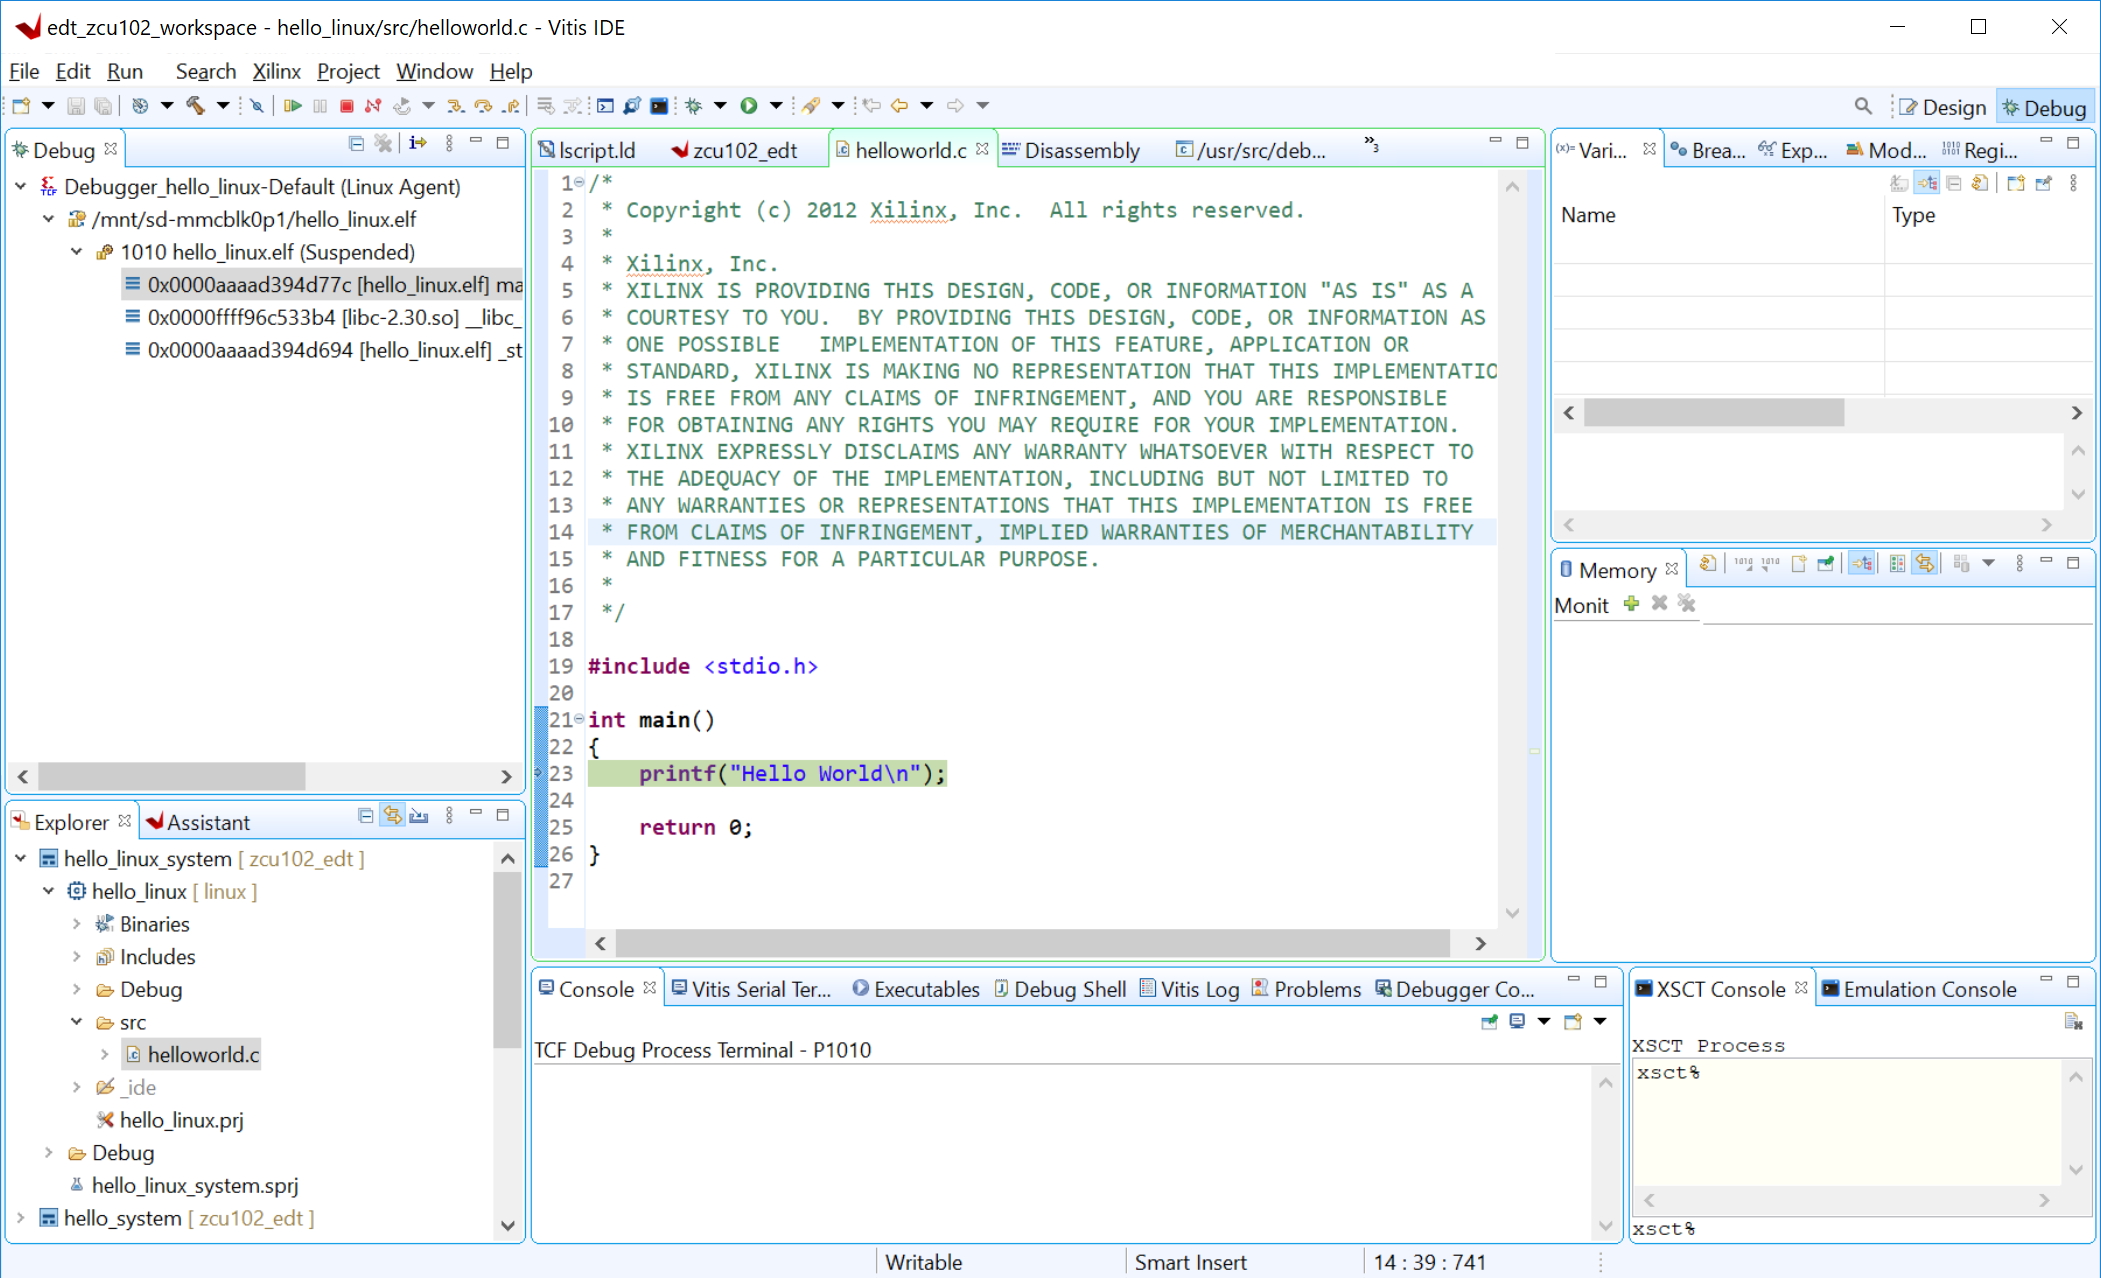
Hello World is a simple application. It does not contain much to debug, but you can try the following to explore the Vitis debugger:
Review the tabs on the upper right corner: Variables, Breakpoints, Expressions, and the rest.
Review the call stack on the left.
The next line to execute has a green background.
Step over by clicking the icon on the toolbar or pressing F6 on the keyboard. The printed string will be shown on the Console panel.
Disconnect the connection:
Click the Terminate button on the toolbar or press Ctrl+F2.
Click the Disconnect button on the toolbar.
Summary
In this chapter, you learned how to:
Create a Linux boot image with PetaLinux.
Create simple Linux applications with the Vitis IDE.
Run and debug using the Vitis IDE.
In the next chapter, you will connect all points previously introduced and create a system design.