In this section…
Executingmainto functionaly verify thetspfunction.
2020.2 Vitis™ - The Traveler Salesman Problem - TutorialSee Vitis™ Development Environment on xilinx.com |
Run the Vitis HLS C Simulation
As discussed, the testbench file is visible on the left hand side of the Vitis HLS GUI, from the Explorer pane: proj->TestBench with the file tsp_TB.cpp.
Inside the tesbench we see that city coordinates are converted to distances.
City coordinates:
  const Coord cities[] = {{40.7127837, -74.0059413 },
                          {34.0522342, -118.2436849},
                          {41.8781136, -87.6297982 },
                          {29.7604267, -95.3698028 },
                          ...
Calculation for distances (as previously discussed, these numbers are normalized to integers before feeding them into the tsp accelerator function):
float dist = std::sqrt(
                       std::pow(cities[i].x-cities[j].x, 2)
                     + std::pow(cities[i].y-cities[j].y, 2)
                      );
The testbench sends 16-bit (uint16_t) data types transcoded from floating-point for efficient hardware processing:
// Normalizing distances to get the maximum precision on 16-bit integers
uint16_t maxUint = std::numeric_limits<uint16_t>::max();
for ( int i = 0; i < N*N; ++i ) {
  cout << "Distance (fp32): " << distances[i] << " Norm. (uint16): " << (uint16_t)((distances[i]/maxDist) * maxUint);
  inputDistances.write((distances[i]/maxDist) * maxUint);
}
Before running the simulation set the number of cities to 5 (N=5) in tsp.h to ensure a quick execution.
To run the simulation from the Vitis HLS GUI, point to the upper toolbar of the Vitis HLS GUI, locate the green ‘play’ icon
 and from its drop-down menu, select C simulation:
You can also alternatively use the main menu: Project -> Run C Simulation
Once the C simulation dialog comes up, simple click OK.
After the C simulation, the Vitis HLS GUI will look like this:
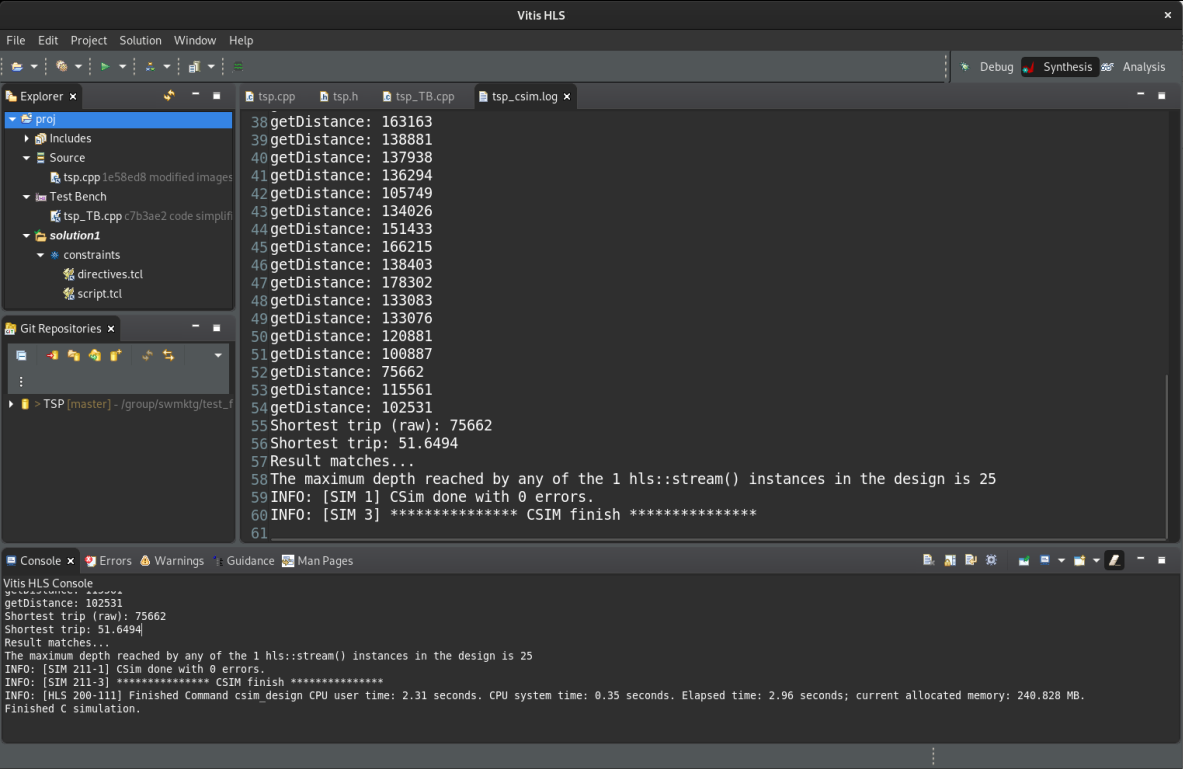
As we see on the screenshot above, the result is 75662 (scaled integer) or 51.6494. It matches the pre-computed result stored in the testbench.