3.2. Run 2D Filter Application
The 2D Filter accelerator is targeted to run on all platforms. Jupyter Notebooks are used to demonstarte the workings of the platform and accelerator. A network connection is required to run these Notebooks
3.2.1. Connect to the JupyterLab Server
Follow these steps to boot the board into Linux
Ensure all steps under the section Board Setup are verified.
Insert the prepared micro SD card into the Versal SD card slot (refer to the image in Board Setup)
Have the UART0 terminal emulator tab connected.
Turn ON power switch SW13.
On Versal UART0 terminal, you would see the Versal device booting from the micro SD card, starting with the message “Xilinx Versal Platform Loader and Manager”
In about 60 seconds boot is complete. Observe the Linux prompt root@xilinx-vck190-2021_1 and autostart of JupyterLab server as shown in the example below:
root@xilinx-vck190-2021_1:~#
[I 17:36:24.640 LabApp] Writing notebook server cookie secret to /home/root/.local/share/jupyter/runtime/notebook_cookie_secret
[W 17:36:26.084 LabApp] JupyterLab server extension not enabled, manually loading...
[I 17:44:03.942 LabApp] JupyterLab extension loaded from /usr/lib/python3.7/site-packages/jupyterlab
[I 17:44:03.942 LabApp] JupyterLab application directory is /usr/share/jupyter/lab
[I 17:44:06.924 LabApp] Serving notebooks from local directory: /usr/share/notebooks
[I 17:44:06.924 LabApp] The Jupyter Notebook is running at:
[I 17:44:06.925 LabApp] http://xxx.xxx.x.xx:8888/?token=06cfb958c61eb0581bb759f40e3a4c3a6252cef3b7075449
[I 17:44:06.925 LabApp]  or http://127.0.0.1:8888/?token=06cfb958c61eb0581bb759f40e3a4c3a6252cef3b7075449
[I 17:44:06.925 LabApp] Use Control-C to stop this server and shut down all kernels (twice to skip confirmation).
[C 17:44:06.949 LabApp]

    To access the notebook, open this file in a browser:
        file:///home/root/.local/share/jupyter/runtime/nbserver-658-open.html
    Or copy and paste one of these URLs:
        http://xxx.xxx.x.xx:8888/?token=06cfb958c61eb0581bb759f40e3a4c3a6252cef3b7075449
     or http://127.0.0.1:8888/?token=06cfb958c61eb0581bb759f40e3a4c3a6252cef3b7075449
Note
If you do not see any URL for the Juputer Notebook, you may have to setup a private network. Likely, DHCP is not be available to allot the board an IP address. To setup a private network and start the notebook follow the instruction below.
3.2.1.1. Setting up a private network
In case of a private network, user can assign a static address within the subnet of the host machine.
Setting up a private network with target board and the host machine for Windows users:
Ensure a direct connection between the windows host machine and the target board using an ethernet cable as shown in the Board Setup section.
In windows, run command prompt as an admisntrator
Press Windows+R to open the “Run” box.
Type “cmd” into the box.
press Ctrl+Shift+Enter to run the command as an administrator
Run ipconfig on the windows machine to list available ethernet adapters and set a static private ip
# A sample output after executing ipconfig
# notice interface "Ethernet" has an auto address assigned with no Default Gateway

ipconfig

Ethernet adapter Ethernet:

   Connection-specific DNS Suffix  . :
   Link-local IPv6 Address . . . . . : fe80::1d8d:ac40:ff9b:8d1%21
   Autoconfiguration IPv4 Address. . : 169.254.8.209
   Subnet Mask . . . . . . . . . . . : 255.255.0.0
   Default Gateway . . . . . . . . . :

# Set static ip address
netsh interface ip set address name="YOUR INTERFACE NAME" static "IP_ADDRESS" "SUBNET_MASK"

# Example
netsh interface ip set address name="Ethernet" static 10.0.0.1 255.255.255.0
Ensure to boot the target board (VCK190) into Linux
Set a private ip address for the target within the subnet of host machine and verify connectivity.
ifconfig eth0 10.0.0.2 netmask 255.255.255.0

# Perform a ping test to the host form the target
ping -c 3 10.0.0.1
Setting up a private network with target board and the host machine for Linux users:
Make a direct connection between the Linux host machine and the target board using an ethernet cable
Run ifconfig on the Linux machine to list available ethernet adapters and set a static private ip
# Example to set an ip 10.0.0.1 to ethernet interface enp2s0:
sudo ifconfig enp2s0 10.0.0.1 netmask 255.255.255.0
Ensure to boot the target board (VCK190) into Linux
Set a private ip address for the target within the subnet of host machine and verify connectivity.
ifconfig eth0 10.0.0.2 netmask 255.255.255.0

# Perform a ping test to the host form the target
ping -c 3 10.0.0.1
To start Jupyter Notebook run
/etc/init.d/jupyterlab-server stop
/etc/init.d/jupyterlab-server start
3.2.1.2. Start the Notebook
Note: This demo is tested with Chrome browser only.
To connect to the jupyter-server and start the Notebook, copy the generated URL with token on the prompt of Versal target and paste it to the Chrome browser address bar of the laptop, for example:
http://192.168.1.77:8888/?token=06cfb958c61eb0581bb759f40e3a4c3a6252cef3b7075449If you have lost the URL, to look up the jupyter server IP address and token on the target, run:
jupyter-lab list
Note
Filter 2D AIE accelerator is not available in this version of the design. It will be supported soon. So with notebooks nb6 and nb7 do not run Filter 2D AIE.
3.2.2. Run the Jupyter Notebooks
This TRD includes the following jupyter notebooks:
- base-trd-nb1.ipynb: Demonstrates videoplayback of a file source in rootfs of the target to the Jupyter notebook using the GStreamer multimedia framework.
- base-trd-nb2.ipynb: Demonstrates streaming video from a v4l2 device on the target to the Jupyter notebook using the GStreamer multimedia framework
- base-trd-nb3.ipynb: Demonstrates streaming video from a v4l2 device on the target to a HDMI monitor using the GStreamer multimedia framework.
- base-trd-nb4.ipynb: Demonstrates two simultaneous streaming pipelines, one from file source and another from a v4l2 device onto two individual planes of a HDMI monitor using the GStreamer multimedia framework.
- base-trd-nb5.ipynb: Demonstrates streaming video from a Mulit-Camera FMC module on the target to a HDMI monitor using the GStreamer multimedia framework.
- base-trd-nb6.ipynb: Demonstrates the 2D filter accelerator kernels, both the PL and the AIE versions, inserted into the video pipeline of notebook 2.
- base-trd-nb7.ipynb: Demonstrates using both 2D filter accelerator kernels in a time-multiplexed fashion in a multi-branch pipeline.
- base-trd-nb8.ipynb: Demonstrates streaming audio/video from a v4l2 device or a file to a HDMI monitor/speaker using the GStreamer multimedia framework.
- base-trd-apm.ipynb: Demonstrates how to plot the memory bandwidth while a video pipeline is running using the libxapm library with python bindings.
- base-trd-cpu.ipynb: Demonstrates how to plot the CPU usage while running applications and pipelines.
- base-trd-power.ipynb: Demonstrates how to plot power consumption of multiple voltage rails throughout the board.
Note: MIPI sources in the notebook is platform specific, User is allowed to choose “mipi” in platform 1 and “mipi_quad” in platform 2 respectively, otherwise an exception would be thrown.
To run the notebooks, follow the below steps:
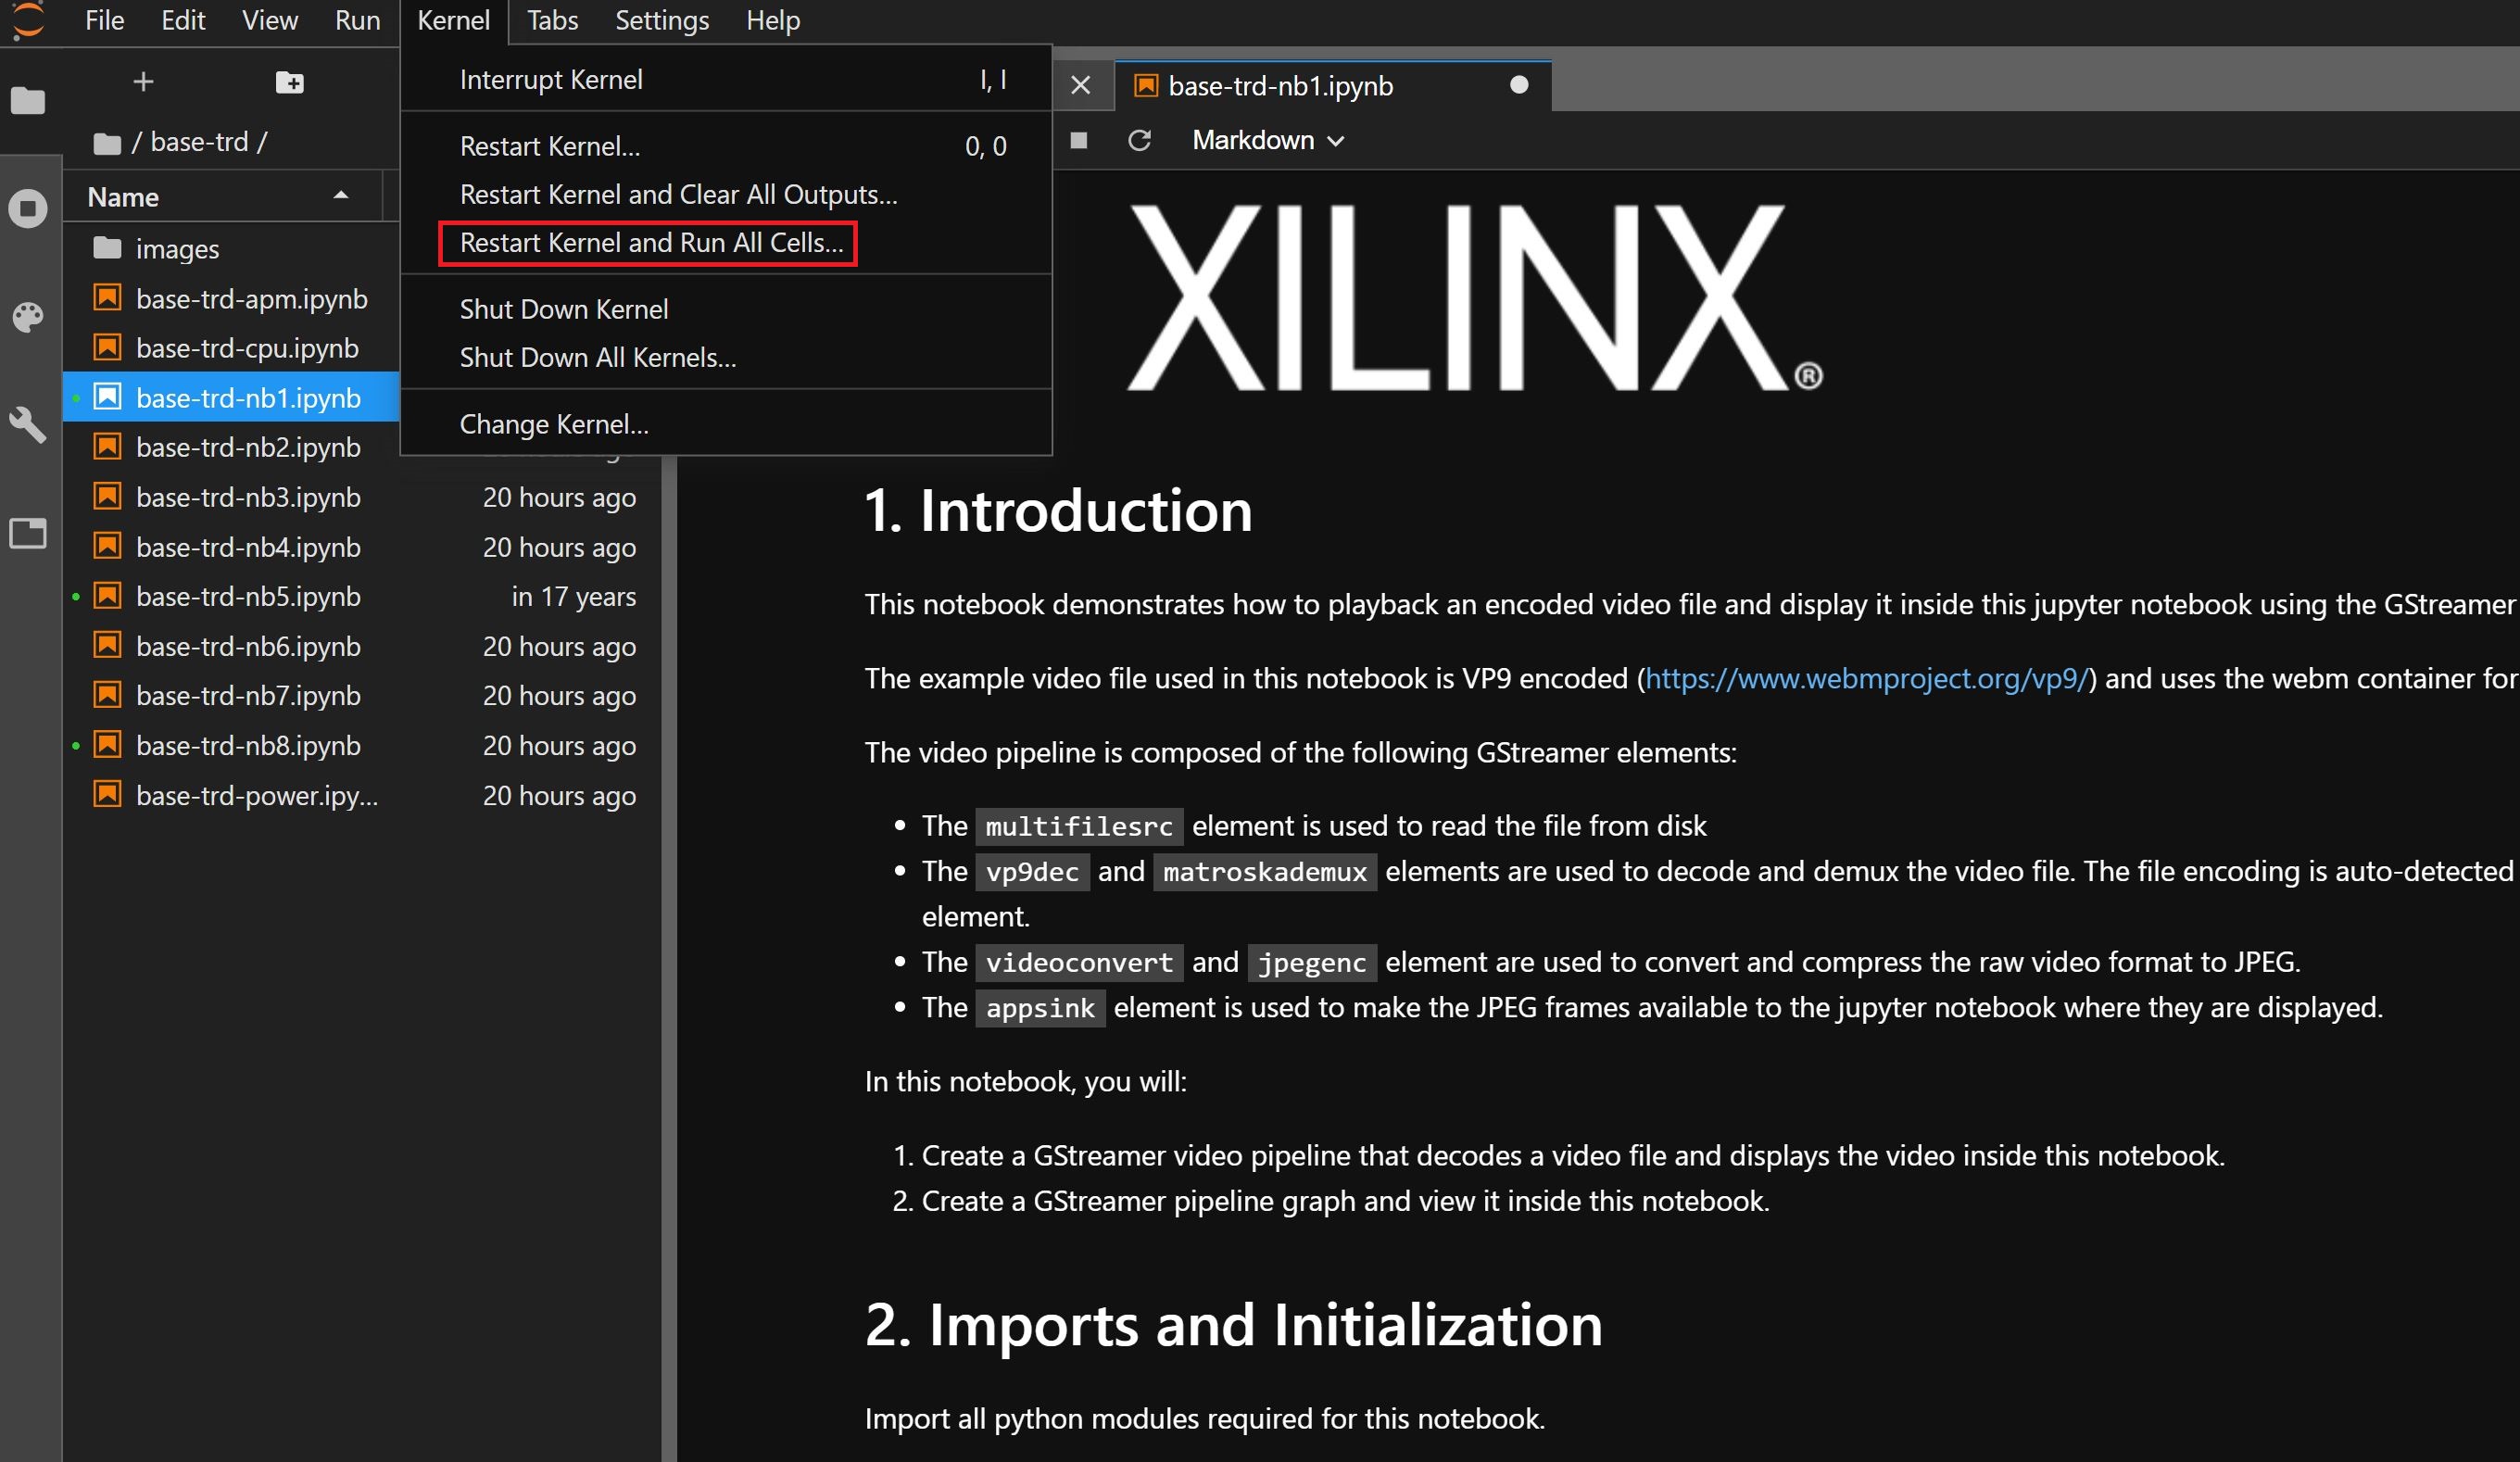
On the left pane of the browser, 8 notebooks are available under the folder Base TRD.
Double click to open the notebook
Select ‘Kernel’ → ‘Restart Kernel and Run All Cells’ from the top menu bar to run the demo. For nb1, nb2 and nb6 scroll down to the end of the notebook to see the video output. For all other notebooks the video output is displayed on the monitor.
Click the rectangular icon to interrupt the kernel and stop the video stream.
Select ‘Kernel’ → ‘Shutdown Kernel’ → close the notebook tab and move to the next notebook.
Note: Rerunning a TRD notebook may have spurious behavior, this is because software commands are designed to run in order and may not behave as expected in iterative runs when the kernel is not restarted. In practice, there are some command sequences that can be regressed, but the safest thing is to restart the Jupyter Notebook kernel with ‘kernel’ → ‘Interrupt kernel’ , followed by ‘kernel’ → ‘Restart Kernel and Run All Cells’ when rerunning a notebook.
Licensed under the Apache License, Version 2.0 (the “License”); you may not use this file except in compliance with the License.
You may obtain a copy of the License at [http://www.apache.org/licenses/LICENSE-2.0](http://www.apache.org/licenses/LICENSE-2.0)
Unless required by applicable law or agreed to in writing, software distributed under the License is distributed on an “AS IS” BASIS, WITHOUT WARRANTIES OR CONDITIONS OF ANY KIND, either express or implied. See the License for the specific language governing permissions and limitations under the License.