Instructor-led AUP tutorial: Connecting to AWS
The following instructions are for live, instructor-led AUP tutorials where AWS EC2 instances have been set by AMD and login details have been provided to attendees. You can check the [AMD AUP workshop schedule]https://www.xilinx.com/support/university/workshops.html) for upcoming training. Ask your instructor if you do not have your login details. If you are not attending a live AUP tutorial, go back to the Quick Start page and follow one of the other options to work through these labs.
Introduction
This lab will show you how to start, stop, and connect to a preconfigured AWS EC2 instance.
Objectives
After completing this lab, you will be able to:
-
Connect to an AWS EC2 instance using the provided credentials
-
Start the instance
-
Connect to the instance using remote desktop software
-
Stop the instance
-
Run the Setup VCK5000 platform to configure the development platform in the system
Steps
Each registered participant to AMD tutorial has been allocated a preconfigured EC2 instance. You should have received an email with the following details:
-
Account ID
-
IAM username
-
Link to access a pre-configured EC2 instance
If this is not the case, please contact one of your instructors.
Login into the AWS and starting an F1 instance
-
Follow the link provided by your instructor, or go to https://console.aws.amazon.com/ec2.
If you see the login page for Root user, click the link to sign in to a different account.
-
Select IAM user and use the account ID provided by your instructor (E.g.
xilinx-aws-f1-developer-labs) in Account ID (12 digits) or account alias.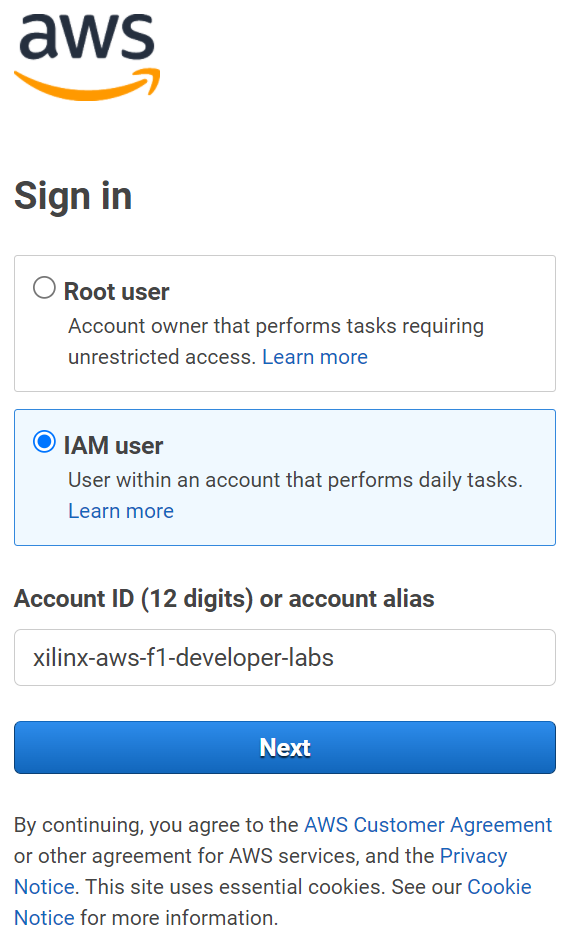
-
Use the username and password provided by your instructor
-
In the top right corner make sure to select the AWS region specified by your instructor (E.g. N. Virginia).

If the wrong region is selected you will not be able to see your instance.
-
Click on the Services in the menu bar at the top of the screen and click on EC2 to see the available instances.
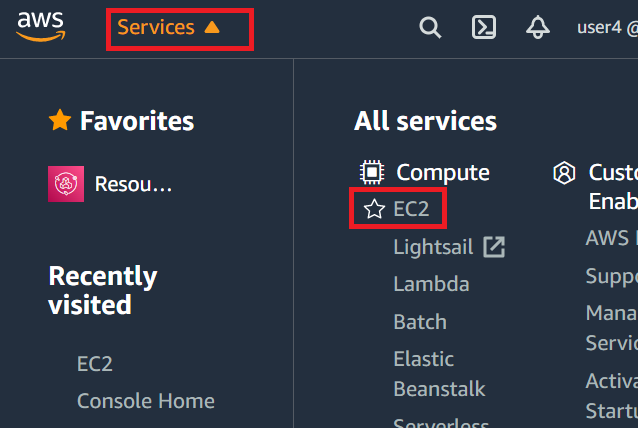
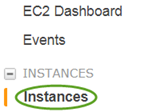
You can also click on the Instances link on the left panel
You may see several instances.
-
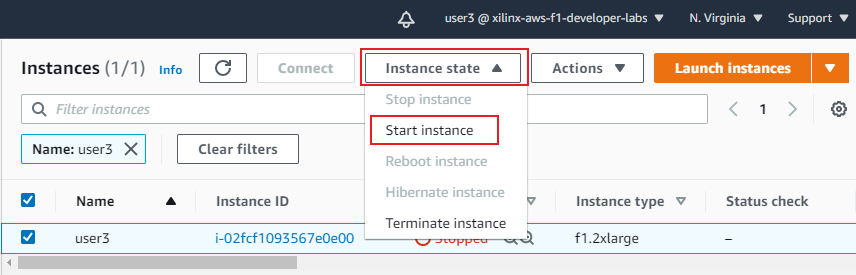
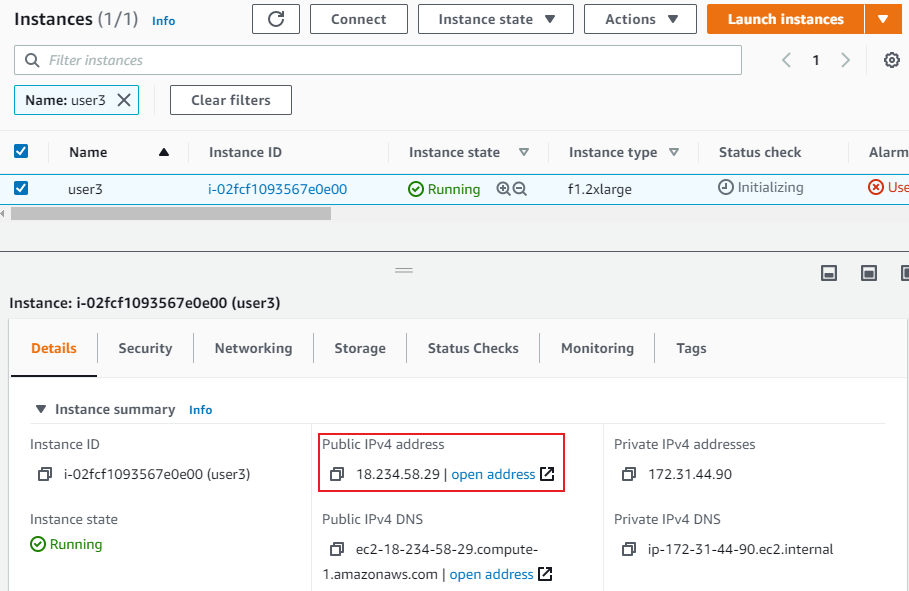
Find the instance that matches your username. If you need to check your username, the account you are logged in as is visible in the menu bar at the top of the screen
You can enter your username in the Filter instances box to filter the list

-
Select your instance (tick the checkbox) and click on Instance state > Start
-
Click on the refresh button to check the status of the instance. It will take about a few seconds before the instance is ready

Keep refreshing the status until you see the Instance state update to Running. This means the instance is now ready for you to connect to it
-
With your instance selected, view the instance Details in the bottom part of the page. You can resize the page to make this section easier to view. Find the Public IPv4 address and copy it. Notice the copy button that will automatically copy the IP address to your clipboard
 .
.This address will be used by to access the remote instance.
Connect to your remote instance
Your instance has been preconfigured to allow you to connect to a remote desktop for your instance using NICE DCV.
You can also ssh to AWS instances (E.g. using PuTTY, MobaXterm, etc.) if you only need a terminal. See Appendix: ssh using PuTTY for details.
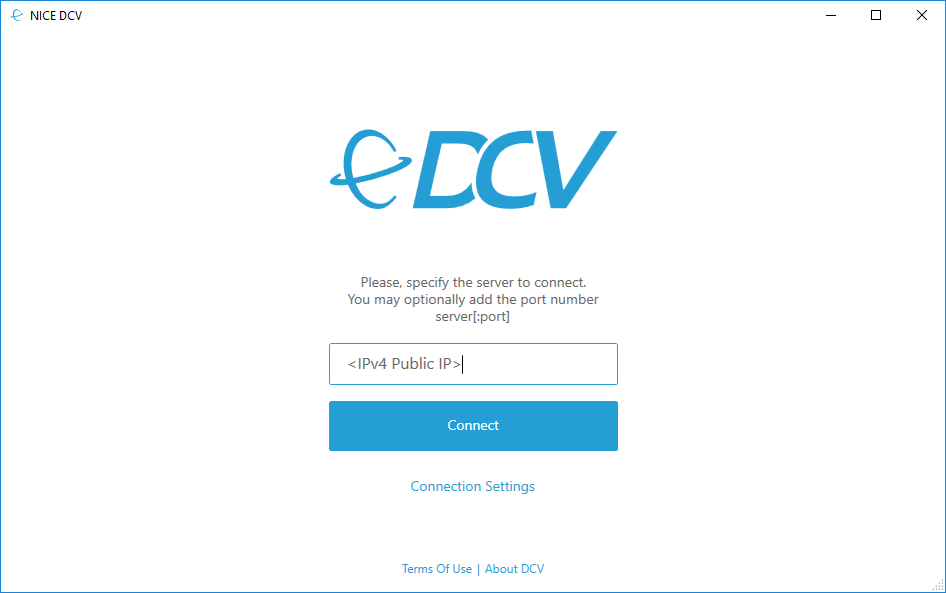
Connect using NICE DCV
NICE DCV is recommended by Amazon for use with AWS instances. This is also the recommended way to connect to your instance for this tutorial.
- Download and install NICE DCV client (Windows|Mac|Linux)
The NICE DCV session has already been started on the pre-configured instance.
-
Open the NICE DCV application on your computer, enter the IPv4 Public IP from the Amazon console and click Open
-
The first time a certificate warning will be displayed. Click Trust to continue
-
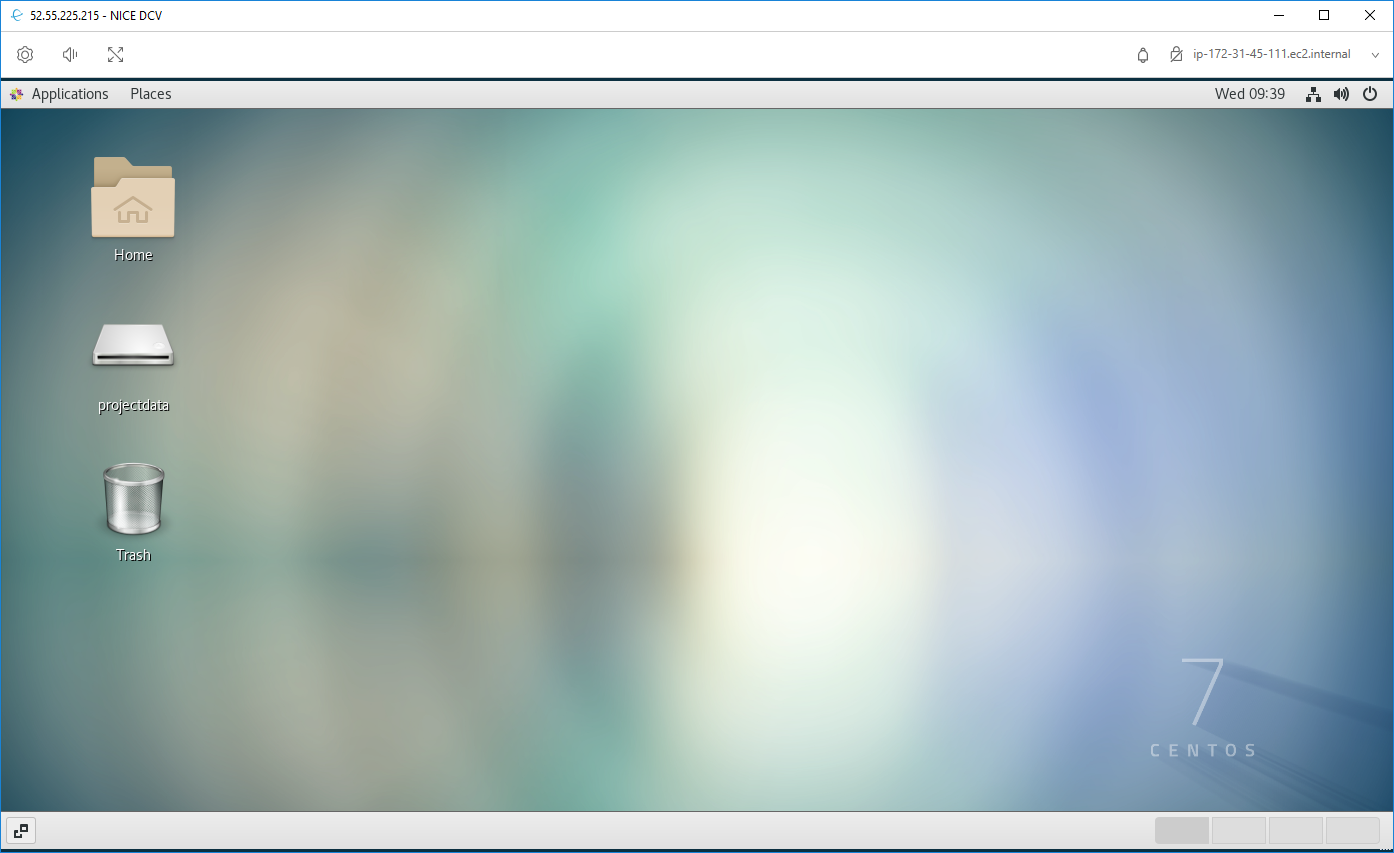
When prompted, enter the Instance ssh\RDP credentials: username and password provided by your instructor (E.g. username: ubuntu). Note that this is different to the username that you used to log in to AWS.
-
Continue to Get Source Code
Appendix
SSH using PuTTY
-
Start PuTTY or your preferred SSH client
-
Enter ubuntu@<IPv4_Public_IP> in the Host Name field and 22 in the Port field
Make sure that SSH is selected as the Connection type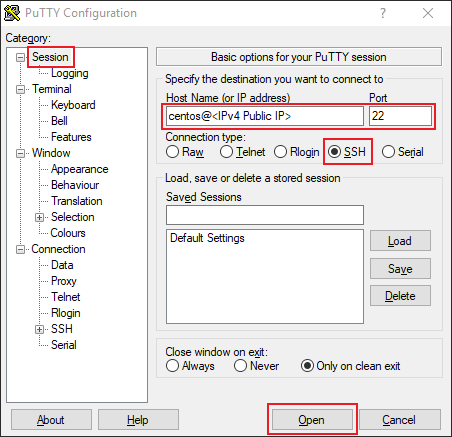
-
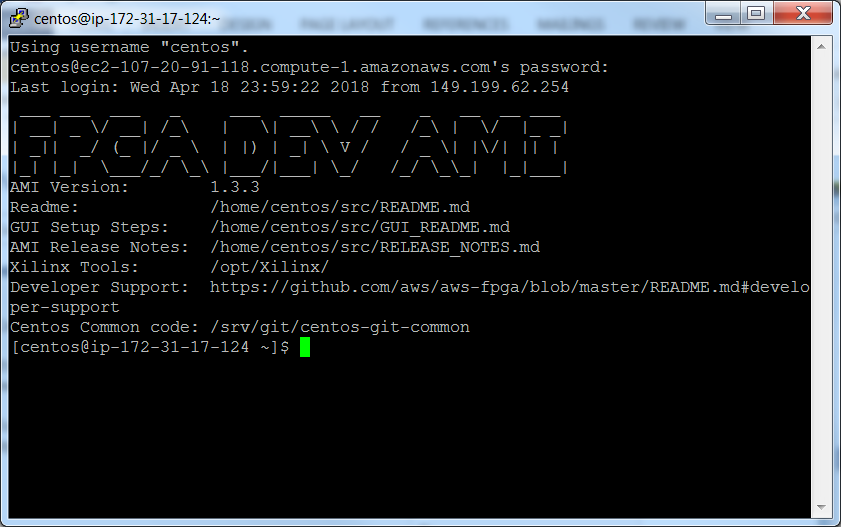
Click Open and then Yes when PuTTY Security Alert is shown
The PuTTY window will open. It will ask for the password (in case of the workshop). Enter the provided password
-
Enter exit to close the session
Set up the NICE DCV session
-
Open PuTTY, and ssh to your instance as described on SSH using PuTTY
-
On the terminal, enter the following command to start the DCV server:
dcv create-session --user ubuntu ubuntuBy default NICE DCV runs in the TCP port
8443 -
Verify dcv session
If the output of
dcv list-sessionsshould look like:Session: 'ubuntu' (owner: ubuntu)
Copyright© 2023 Advanced Micro Devices